The ultimate Webflow SEO guide for better Google rankings


Intro
Would you like to get your business off to a good start in 2023 and give your Webflow website a performance boost? Then you've come to the right place. In this article, we'll give you step-by-step instructions on how to increase your reach.
The basis: Provide relevant and easy-to-read content to your target group
The basis of your effective SEO strategy is well-thought-out content that offers added value for your individual target group and is easy to read. You certainly know better than we do what the content looks best for your company. Therefore, in this article, we focus primarily on the technical best practices in Webflow, which lead to improved SEO performance.
Step 1: Do a keyword analysis with Google Keyword Planner
After you've thought about your content and know exactly which target group you want to address, the second step is to consider Which keywords you include in the headlines and texts on your website. Keywords are usually short phrases that are searched for by your target group on Google. An example of this article would be the keyword”Webflow SEO guide”.
It is not necessarily important that your keywords appear 1:1 as they could be entered on Google. When crawling your website, Google automatically recognizes whether your content matches a specific searched keyword, as long as you incorporate the individual components of the keyword into your content.
To find out which keywords are relevant to your content, you can use the free Google Keyword Planner. Here you can also find out how strong the competition is for specific keywords and may be able to uncover a niche for your content.
Step 2: Observe the correct heading structure in Webflow
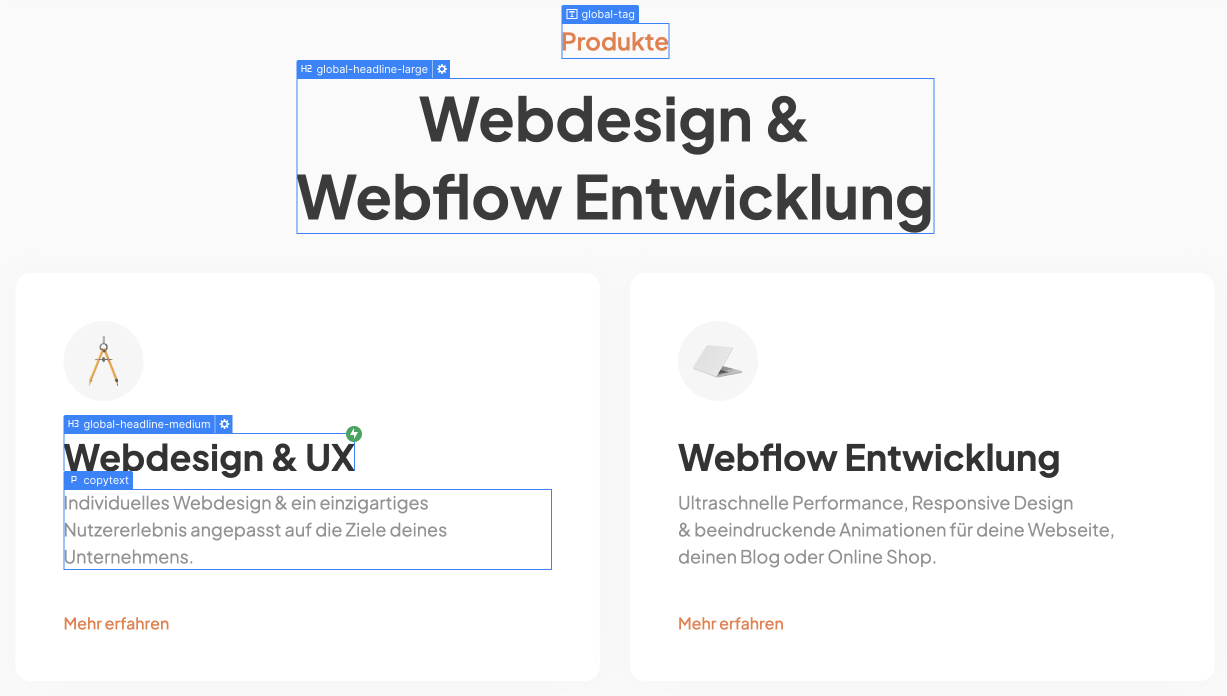
To make crawling your website easy and effective for Google, you should definitely consider the right heading structure when developing in Webflow. Each page should only a single H1 heading included. Ideally, you should include your most important keyword here, which is relevant for the respective page. You can individual sections with related content Separate headings with H2. With the Structured H3-H6 headings You then add the content within a section, depending on what makes sense for your use case. However, to ensure that your content remains clear and understandable for your users, we recommend that you do not go beyond an H4 heading.
For your content-relevant texts, for example for product descriptions, you should use the preset in Webflow paragraph use. For blog posts, we recommend the preset Rich text, which allows you to structure your article with appropriate headlines in the CMS. For all other text modules on your website that do not play a role in content, such as the texts of your buttons or navigation items, you should use the preset Text Block use.
Step 3: Set meta titles and descriptions with the correct length
Since you won't be alone in search results for a specific keyword, you should set a suitable meta title and meta description for each individual page on your website. You can easily set these in the Webflow Designer via the settings of the respective pages. The meta title is used to attract attention, while the Meta description in a few words Clearly expresses what users can expect after they have clicked on your Google listing. This also applies to pages that are generated from the Webflow CMS, such as blog posts or portfolio projects.
In order for your website to be optimally displayed as a search result by Google, your Meta title a maximum length of 60 characters And yours Meta description a maximum length of 160 characters have. If you exceed this limit, your listing will be shown in search results with three dots at the end of the sentence, which will have a negative effect on converting your impressions.
Note that Google doesn't always display both Meta Title and Description 1:1 as you set them. Depending on the search query, Google may generate it from the content of your website.

Step 4: Don't forget the alt texts of your (CMS) images
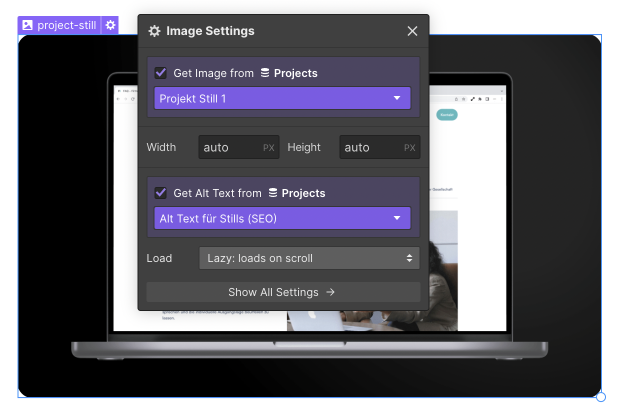
Google rewards websites with good accessibility. Therefore, you should for every picture Write descriptive alt text on your website. Our tip If you're using a CMS: Set an additional field for each image field Plain text field to assign appropriate alt text to each image. In Webflow Designer, you can define from which source CMS images obtain their alt text.
Step 5: Adjust Webflow SEO and publishing settings
You can make a few settings in Webflow that will sustainably improve your SEO performance. First, under the menu item SEO which Indexing your Webflow subdomain (www.yourwebsite.webflow.io) uncheck, so that your website is only indexed by Google via your primary domain. To 100% ensure that Google knows the correct URL for indexing, add your primary domain to the box Global Canonical Tag URL one. Then activate the automatic sitemap generation to find out exactly what it is all about in step 6.
Finally, under the menu item, you can Publishing all Advanced Publishing Options Activate except for the last option to improve the loading speed of your website.

Step 6: Connect your website to Google Analytics and Google Search Console
To check your website's performance, you should use your Webflow website with Google Analytics and the Google Search Console connect. In the same step, submit your website's sitemap so that it can be correctly indexed and crawled by Google. We have already laid the basis for this in step 5 by activating automatic sitemap generation in the Webflow project settings. How to have Google verify your website in just a few steps, connect it to Analytic Tools and submit your sitemap can be found in the Webflow University Read up.
The difference Between Google Analytics and Google Search Console, Google Analytics breaks down how your users behave on your website, while Google Search Console collects statistics about traffic sources and number of views. Here you can also find out how your website performs for specific keywords.
Both tools provide you with valuable insights into the performance of your website and what adjustments you should make to achieve even better results in the future.
Step 7: Use the Semflow Webflow Plugin
Semflow is a fantastic plugin developed specifically for Webflow, which helps you to check how SEO-friendly your website is. Semflow tells you exactly where you can make optimizations and visualizes your progress using an SEO score.

Extra tips: navigation, performance, URL structures
Google and your users have one thing in common. They both love fast websites with a clear structure. When developing your Webflow website, consider understandable navigation and how to group your content in a meaningful way. Improve your website's performance by following step 5. Avoid large images and use tools like Shrink Media to compress them without loss. An SEO-friendly URL is short and rich in keywords. It usually matches the title of your page. However, you can omit some filler words to better match your target keyword.
We hope this article has helped you and that you are off to a good start in 2023. Additional information about this post can be found in the official Webflow blog.

